
How to Teach Your Dog to Stay (the Three D's Method)
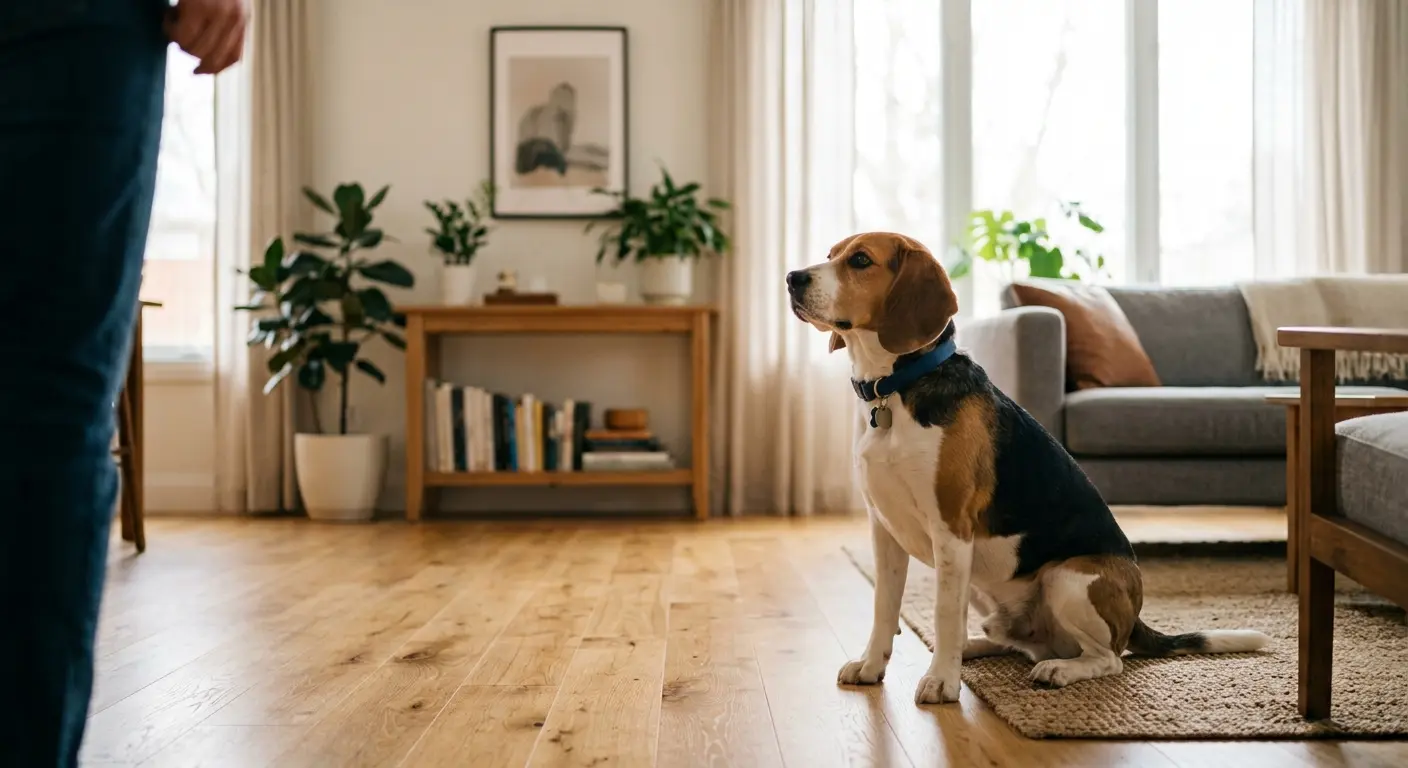
A solid stay is one of the most useful things you’ll ever teach your dog. It keeps them safe at the roadside, calm at the front door, and settled while you answer it. But most dogs who “can’t stay” were never actually taught to — they were asked to hold still for far too long, far too soon, and they simply gave up.
The fix is to stop thinking of stay as a single trick and start building it in three separate directions. Get that framework right and stay becomes almost boringly reliable.
What “stay” actually means to a dog
To your dog, stay means: stay in this position, right here, until I hear the word that tells me I’m free. Three parts of that sentence matter, and trainers call them the three D’s:
| The three D’s | What you’re asking for | Everyday example |
|---|---|---|
| Duration | Hold the position for longer | Staying put for 30 seconds while you tie your shoe |
| Distance | Hold it while you move away | Staying while you walk to the door |
| Distraction | Hold it while things happen around them | Staying as another dog trots past |
Here’s the rule that makes or breaks the whole thing: train one D at a time. When you increase one, drop the other two right back to easy. Adding distance and duration and a distraction at once is the single most common reason a stay falls apart — you’ve asked for three hard things simultaneously, and your dog has no way to succeed.
Before you start: get a release word
Stay only means something if there’s a clear signal for “you’re done.” Pick a release word — “okay,” “free,” or “break” all work — and use it every single time you end a stay. Without it, your dog is left guessing when they can move, so they start releasing themselves, and the stay quietly erodes.
You’ll also want a small stack of soft treats your dog loves, and a quiet room with nothing going on. Your dog should already know how to sit or lie down before you begin — stay is something they do in a position, not instead of one.
Step 1: Reward the position before you add anything
- Ask your dog to sit.
- The instant they sit, mark it (a cheerful “yes!” or a clicker) and feed a treat while they’re still sitting. Delivering the treat in position teaches them that staying put is what pays.
- Give your release word — “okay!” — and encourage them to get up.
- Repeat five or six times.
Notice you haven’t even said “stay” yet. You’re teaching the mechanics: good things happen while I hold this, and a word tells me when I’m free. That foundation is worth more than the cue itself.
Step 2: Build duration (and only duration)
Now add your cue. Ask for a sit, say “stay,” wait one second, mark, treat in position, then release.
From there, stretch the time in small steps: 1 second, 3, 5, 8, 12, 20. Vary it so it’s not always getting harder — throw in an easy 2-second rep after a long one. Keep these numbers in mind:
- Stay next to your dog for this whole stage. Zero distance. You’re only working on time.
- Feed a few treats during a long stay, not just at the end, so holding stays rewarding the whole way through.
- If your dog breaks, you’ve simply asked for a second too many. Say nothing, reset, and make the next rep easier. No scolding — a broken stay is information, not disobedience.
Only once your dog can hold a relaxed 30-second stay right beside you should you move on.
Step 3: Build distance (back to short duration)
Reset duration to almost nothing and start moving. Ask for a sit, say “stay,” take one step back, step straight back in, mark, treat, release.
Then grow it: one step, two steps, a step to each side, backing up across the room. The key habits:
- Return to your dog to reward. Deliver the treat while they’re still in position, then release — don’t call them out of the stay to get it. If the treat always comes to them, staying keeps looking like the winning bet.
- Keep early distance reps short in time. A dog holding a stay while you walk 10 feet away for 3 seconds is doing something genuinely hard already.
- Work up to stepping out of sight briefly — around a doorway and back. Build that in inches.
Step 4: Add distractions (back to easy again)
This is where a real-world stay is made. With your dog close and the duration short again, introduce one mild distraction: drop a treat on the floor a few feet away, take a small hop, roll a toy slowly, have someone walk past at a distance.
Reward heavily for holding through it. If your dog breaks, the distraction was too big or too close — make it smaller or move it further away and try again. Gradually raise the difficulty: a bouncing ball, the doorbell, another dog in the distance. Real life is the final exam, so eventually you’ll practice at the front door, in the garden, and on walks.
The mistakes that quietly undo a stay
- Poisoning the release. If you only ever release your dog to something exciting, “stay” starts to feel like a countdown to fun. Sometimes release them to nothing at all, or right back into another calm stay.
- Repeating the cue. Saying “stay… stay… staaay” teaches your dog the word is background noise. Say it once. If they break, that’s feedback to make it easier, not to nag.
- Always making it harder. A stay that only ever gets more difficult is a stay your dog will eventually lose. Mix easy reps in constantly — that’s what keeps it strong.
- Ending on a fail. If a rep falls apart, do one easy version your dog can nail, reward it, and stop there. Always bank a win.
Keep sessions short and end on a win
Two or three minutes, a handful of times a day, beats one long grind. Dogs learn stay in small, frequent, upbeat doses — and a stay built this way holds up when it actually counts.
Let Ruffy coach you through it — with Ruffy
Knowing the three D’s is one thing; knowing exactly how far to push on any given day is what keeps training on track. The Ruffy app turns this method into short, guided, force-free sessions that adjust as your dog improves — so you always know the next small step, and you never accidentally ask for three hard things at once.
Download Ruffy free and build a stay you can actually rely on. 🐾
Keep reading
How to Teach Your Dog to Lie Down (the 'Down' Cue)
Down is the calm off-switch of dog training — for the vet, the café, the front door. Here's the force-free way to lure it, fade the treat, and add the word so it actually holds.
How to Teach Your Dog to Sit (Without Pushing on Their Bottom)
Sit is the first cue most dogs learn — and the one people teach with the least reliable method. Here's the force-free way to get a fast, happy sit in a few short sessions, and how to make it stick.
How to Teach Your Dog to 'Leave It' (a Cue That Can Save Their Life)
Dropped pills, chicken bones on the pavement, something dead in the grass — 'leave it' is the cue that stops your dog before they grab it. Here's the force-free way to build it, and why it works better than snatching things away.